When it comes to YouTube optimization, there are always two questions I get from both aspiring and pro YouTube channel managers:
- Should I go back and optimize my (or my clients’) videos?
- Is it even safe for me to do that?
The CliffsNotes version of the answers: Absolutely yes and yes.
This is called retrospective optimization, the process of going back into your YouTube archives and cleaning up your old videos so they have another shot at success.
As a pro channel manager, I’ve seen retrospective optimization make a huge difference in performance. I’ve optimized old videos that were hardly getting any views, and then pretty much went viral overnight just with a few simple changes.
Retrospective optimization can also boost the performance of an entire channel. I worked with a team to implement an optimization system across something like 1,000 videos on the channel. Yes, it was a lot of work, but in about eight months, the channel went from getting 25 million monthly views to more than 150 million monthly views.
So is retrospective optimization safe? Absolutely. I’ll break down exactly how to grow a YouTube channel with retrospective optimization.
Resources Mentioned In This Episode
- Hear more about how to create YouTube thumbnails in Episode 6
- Hear more on how to optimize your AdSense revenue in Episode 7
The YouTube easter egg from the start of today's episode is this little gem.
The Pro Channel Manager Academy is our incredible community full of incredible video courses and some of YouTube greatest minds to help you grow the YouTube channels you are working on.
A HUMUNGOUS thank you to our incredible sponsor and my favourite YouTube tool vidIQ. I use it on every single video I upload and has helped me generate BILLIONS of YouTube views. Get a free trial of one of their incredible paid plans by clicking here.
Retrospective YouTube Optimization: A 6-Step Guide
Before we dive in, I want to give a quick disclaimer. If you have a YouTube video out there that’s paying your mortgage, putting food on the table or keeping the lights on at your company, I recommend leaving it alone.
You’re right: I said there’s no true risk when it comes to retrospective optimization… but why mess with a good thing? There’s no need.
However, if you think your or a client’s channel could benefit from retrospective optimization, I’m going to take you through six steps to get you going in the right direction.
(Of course, give your clients a heads up you’re doing this first. They might not be thrilled to see their videos updated without permission.)
1) Update the Thumbnail
The thumbnail is a gateway to a video’s performance.
And the good thing about updating a thumbnail is there’s no real algorithmic effect. What that means is, even if you’re not a master of YouTube SEO, you have little chance of really messing with the algorithm by updating a video’s thumbnail.
Translated: This is the least riskiest move with the greatest potential benefit.
To really give your thumbnails a good lift, take note of some of these tips from my advanced thumbnail creation guide:


My advanced guide will have more details, so be sure to check that out if you haven’t already.
2) Improve Your Tags
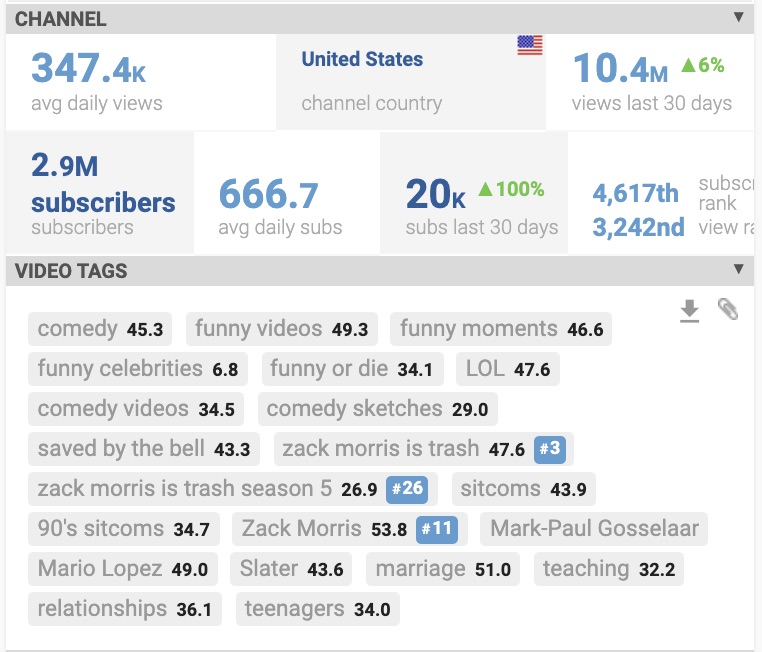
Listen. I’m not going to get into the whole debate about whether tags work or not. In my opinion, they do. Plus, if you have the opportunity to potentially improve your video’s performance, why wouldn’t you take it? Case closed.
With your tags, you’ll want to first delete any that aren’t super relevant to your video and add any that are very obviously missing, including your target keywords and phrases.

I suggest having a system when it comes to this, so you can start to engineer relationships between your videos and start having YouTube’s algorithm link your videos together. This will help you start dominating the sidebar.
That’s an oversimplification, really, but if you want some help with tags (and keywords, which we’ll talk about next), vidIQ (affiliate link alert!) is a great tool.If you also want to dig deeper into my introductory training on keyword research and how to implement these across your Tags (as well as other places on your video and channel) you can do so by checking out Pro Channel Manager Community.
3) Pay Attention to Your Descriptions
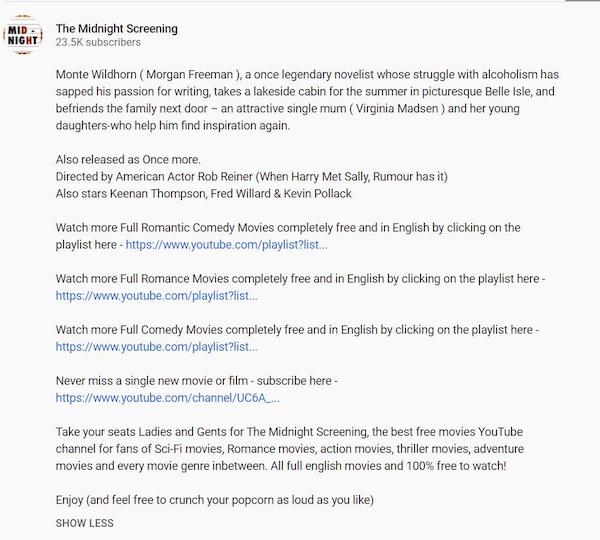
All too often YouTube video descriptions are afterthoughts, or worse — nonexistent.
Here are a couple of things to keep in mind when you’re writing your descriptions or should I say, RE-writing your descriptions:


4) Improve Your Titles
I really want to emphasize the importance of YouTube titles. Yes, they’re huge when it comes to YouTube SEO — making sure your video is searchable — but they can affect click-through rates. (People don’t just look at the thumbnail… they read the titles, too.)
That means crafting your title is going to take some strategy. A few rules I always follow include:


So by following this formula, you’re hooking viewers, building up your SEO juice and maintaining your brand awareness.
Here’s an example from the Architectural Digest YouTube channel:
Inside Kendall Jenner’s Cozy L.A. Hideaway | Open Door | Architectural Digest
The title immediately sparks curiosity and notes Kendall Jenner (a highly searched name) and then includes the series title and the channel name.
Check, check and check.
5) Don’t Forget To Check End Screens
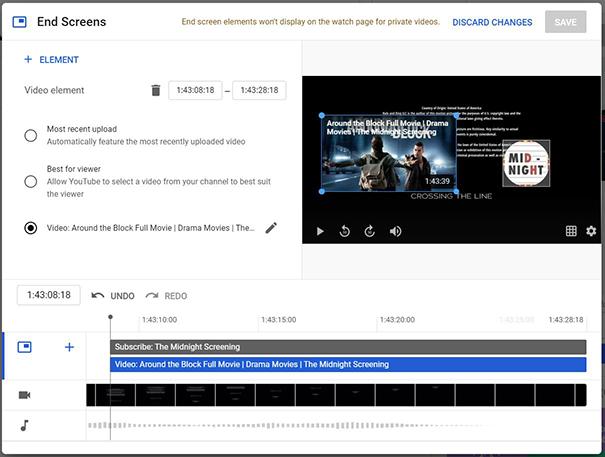
I’ve worked with a number of clients who don’t add end screens, the cards that appear in the last five to 20 seconds of a video with a call to action. I call this a big ole “doh!” moment.
When you don’t include an end screen, you’re missing out on a great call-to-action opportunity. But you have to be careful: You don’t want to give viewers too many options. (We talked about this earlier with video descriptions — they’ll get overwhelmed and distracted and peace out.)
As a rule of thumb, I say include no more than two video elements and a subscribe button.
Then, when it comes to choosing which video you want to program next, avoid YouTube’s auto choices. Instead, choose a video that makes sense with the viewer’s journey in mind. (Someone who’s watching a workout video probably doesn't want to get directed to a pie-baking tutorial.)
Oh, and don’t forget to use a "playlist mode" link. This can boost your session time and get you on the good side of YouTube’s algorithm. I call it a low-hanging fruit when it comes to getting more views.

6) Optimize Your Ads
I’ve talked extensively about YouTube ad optimization, but it’s worth repeating over and over and over again: Optimize your ads!
Honestly, this is one of the easiest ways to wow a client and increase their revenue — even overnight. (Or if it’s your own channel, you can really make your wallet happy.)
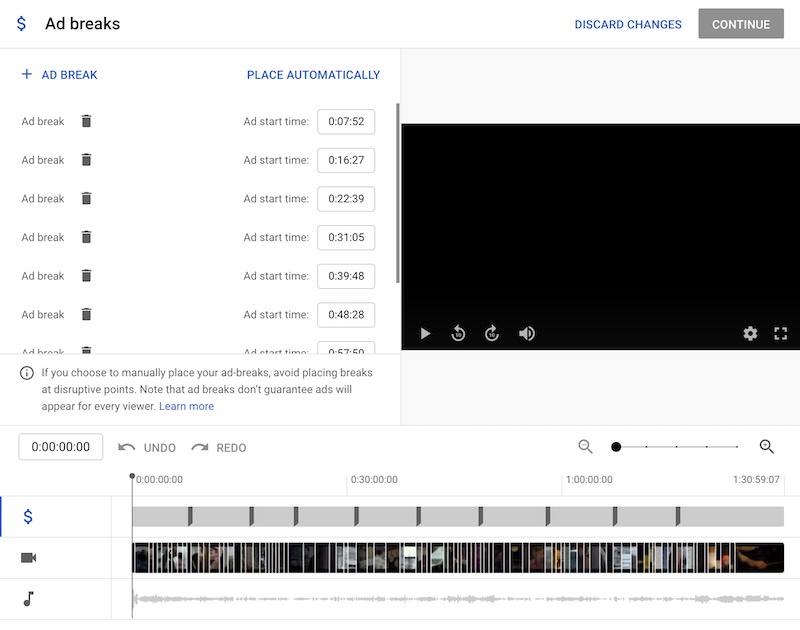
I would encourage you to focus on mid-roll ads. These can really mess with viewer experience. Think about it: A viewer is watching a heart-wrenching interview. Cue: Mid-roll ad for the newest season of “Love Island” Yeah, not great timing, huh?
So to avoid that, delete auto-placed ads. Then, optimize! Be strategic about ad placement. Avoid interrupting any important sentences or action scenes.

If you’re optimizing ads on a longer video, I’d suggest placing your mid-roll ads every seven to eight minutes. That way you can get a decent amount of ads in without ruining the viewer experience. Plus, that’s basically the same timing of ads on TV, so people will be used to it.
Review: Key Elements to Consider in Retrospective YouTube Optimization
To wrap things up, I made a nifty little cheat sheet for you to consider before diving into your retrospective optimization process.
What you can change/update in existing YouTube videos:


What you can add to existing YouTube videos:


What you can remove from existing YouTube videos:


Honestly, the list could go on, but you get the point: It’s definitely possible to retroactively edit your YouTube videos to great effect, and, yes, it’s safe!
Never miss a single episode of the podcast and be the first to hear about our new courses and community updates by signing up for updates
